How a New Roof Can Increase Your Home’s Value & Curb Appeal
March 7, 2025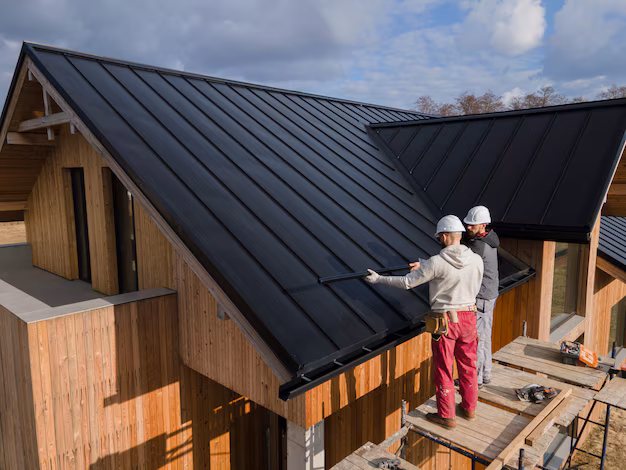
Putting on a new roof adds important defense against the elements and increases both energy savings and building value. Decoding the roof installation process helps you plan and expect what to happen. This guide explains how roof installation works in clear progress steps.
Step 1: Initial Inspection and Planning
Employed roofing contractors will first inspect all parts of your current roof before starting their work. The team uses this evaluation to select appropriate building materials and methods to do the work.
What Happens During Inspection?
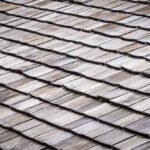
- Evaluation of current roofing materials
- Identification of potential damage or weak spots
- Discussion of roofing options such as TPO roofing installation, asphalt shingles, metal, or tile
- Estimation of costs and timeline
When the inspection ends, your contractor presents an official document listing the planned project work with materials and estimated completion dates.
Step 2: Preparing the Site and Removing the Old Roof
The second step involves setting up the work area and removing the existing roofing material. Workers can start safely and efficiently because the worksite must be properly set up. Our team arranges site protection and sets up work tools while also taking out old roofing materials if necessary.
Key Preparations:
- The team places tarps and plywood sheets to shield your residential area.
- Our team takes away all existing shingles before starting the installation process.
- Look for damage on the roof decking surface.
Our team will address all discovered structural issues first before continuing.
Step 3: Installing the Roof Underlayment and Flashing
The team installs rooftop waterproofing materials and flashing elements at this stage. When the roofing deck inspection finishes, the team installs underlayment protection. The underlayment forms a water-resistant shield to shield your property from harm.
Components Installed:
- Roofing Underlayment: This is the extra waterproof or water-resistant layer of safety laid underneath the shingles or roofing fabric.
- Flashing: These are the metal parts that save you from water leaking through roof penetrations like valleys, chimneys, and vents.
Installation of these parts correctly will ensure your new roof lasts for many years.
Step 4: Installation of the New Roof Material
The next step includes installing the material of your preference for roofing. Whether it be TPO, metal, or shingles, the professional follows the manufacturer’s guidelines to the letter to assure lifetime and performance.
Different Roofing Material Types and How to Install Them:
- Shingles: installed in overlapping layers for maximum protection
- Metal Roofing: fixed securely with screws and seals to resist weather elements
- TPO Roofing Installation: A common practice in commercial buildings because of its easy usage and energy efficiency.
Your roofer will ensure that alignment, sealing, and fastening are done correctly to avoid any later complications.
Step 5: Final Cleaning and Inspection
After installation of the roofing material, a final check and cleaning are performed to ensure the job is done correctly and appropriately.
Final Steps Include:
- Removing all debris and materials from the site
- Inspecting for any missed details &/or potential concerns
- Walking through with the property owner to review the completed work
A reliable commercial roofing company will provide you with all warranty information and maintenance tips to help you extend the life of your roof.
Step 6: Maintenance and Handling After Installation
To maximize the new roof’s lifespan, periodic maintenance is required. In the future, expensive repairs can be avoided by taking simple steps such as clearing the area of soil, leak checks, and scheduling regular inspections.
Maintenance Tips:
- Clear the drains and gutters of any debris
- Examine the roof following extreme weather events
- Schedule annual professional roof inspections
For commercial buildings, commercial roof restoration is a service that can ensure that the roofing system remains intact and does not degrade prematurely.
Step 7: Roofing Permits and Regulations
Verify that all required permissions and laws are in place before beginning any work. Commercial building roofing needs to abide by local zoning and construction requirements.
Key Takeaways:
- Checking with local authorities for permit requirements
- Ensuring compliance with energy efficiency and safety regulations
- Meeting HOA guidelines (if applicable)
A professional commercial roofing company will take care of the permit process, ensuring that the installation meets all legal and safety standards.
Step 8: Selecting the Perfect Roofer
Your choice of contractor can also greatly influence the longevity and quality of your roof. Look for a commercial roofing company with an excellent tune-up report, proper licensing, and satisfied clients.
What to Look For:
- Experience with TPO roofing installation and other roofing types
- Proper certification and insurance
- Transparent pricing with clear contracts
Having a trustworthy roofer means you’ll have expertly done work and a roof that will last for centuries.
Conclusion
A well-put roof lasts longer and can be an additional source of revenue when selling. You will surely keep a first-rate deal of pressure and trouble in case you are knowledgeable and pick out a dependable roofing contractor to finish the process. Precise Roofing LLC is available if you’re trying to find a skilled roofer who can provide you with just what you want.
We have more than 20 years of expertise and are experts in commercial roof restoration, TPO roofing installation, and high-quality roof installation. Contact us today and get a free roof inspection by our team of professionals, which ensures you get that durable and reliable roofing solution!
